Install Proton VPN on Ubuntu
A VPN, or Virtual Private Network, is a technology that allows to create a secure, encrypted connection over the internet between their devices. Using a VPN can help protect user privacy by masking their IP address, making it difficult to trace online activity back to them. It can also allow users to access websites and online services that may be restricted in their location or by their internet service provider. VPNs are commonly used by individuals and businesses alike for a variety of purposes, including accessing corporate networks remotely and browsing the web securely on public Wi-Fi.
Proton VPN is a VPN service provided by Proton, a Swiss-based company that provides a wide range of services focusing on privacy. In this article, we will go through the installation of Proton VPN on Ubuntu and we will connect to a free Proton VPN server.
Create a Proton VPN account
To get started, create a Proton VPN account at https://account.protonvpn.com/signup.
Install Proton VPN
We will now install theprotonvpn package on Ubuntu, this is a graphical user interface that makes it easy to connect to the Proton VPN servers. The software is provided by Proton and it is not included in the Ubuntu system packages.
While I'm writing the article the latest version available is 1.0.3. Download and install it with the following commands:
curl https://repo.protonvpn.com/debian/dists/stable/main/binary-all/protonvpn-stable-release_1.0.3_all.deb --output /tmp/protonvpn-stable-release_1.0.3_all.deb
sudo dpkg -i /tmp/protonvpn-stable-release_1.0.3_all.deb
We can now install the protonvpn interface as follows:
sudo apt update
sudo apt install protonvpn -y
Connect to Proton VPN
Press the start button and type proton in the search form the Proton VPN icon will appear. Press it to launch the GUI.

Alternatively, you can also launch it from the command line by typing:
protonvpn
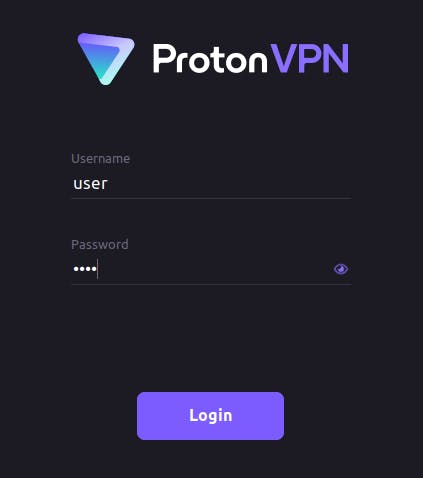
Enter the account credentials that you previously created and press the login button:

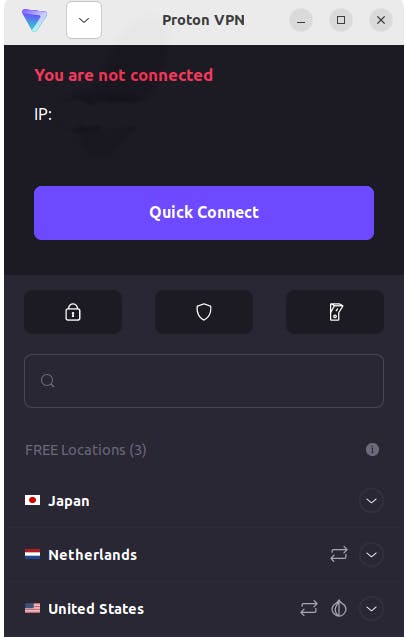
After the login, you will be able to select a VPN to connect to, press Quick Connect to connect to the closest VPN:

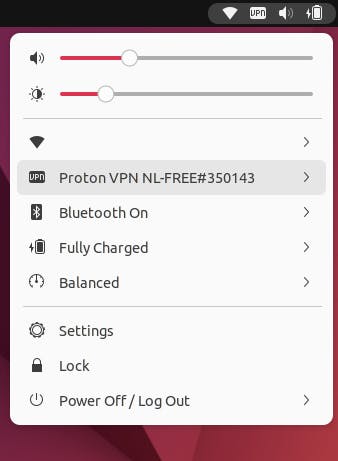
Congrats! You are now successfully connected to a VPN, on the top right screen you should now see the connection status:

Troubleshooting
I can't say that the experience with the Proton VPN GUI was always smooth. Because of an application crash, I had to manually delete the VPN connection. Here's how I fixed it. List the Network Manager's active connections:
nmcli connection show --active
NAME                     UUID                    TYPE  DEVICE
pvpn-ipv6leak-protection 48fd41ad-0497-433f-9111 dummy ipv6leakintrf0
Delete the VPN connection as follows:
nmcli connection delete pvpn-ipv6leak-protection
Conclusions
Follow those steps if you want to completely remove Proton VPN from your system:
sudo apt autoremove protonvpn protonvpn-stable-release -y
Finally, remove also the configuration files:
rm -rf ~/.cache/protonvpn ~/.config/protonvpn