How to create a Virtual Private Server on Vultr


Learn how to create a Virtual Private Server on Vultr step by step guide
If you're looking for a reliable and affordable virtual private server (VPS), Vultr is a great option to consider. In this guide, we'll walk you through the steps to create and fund your Vultr account, generate an SSH key, launch your first Vultr instance, and connect to your VPS. We'll also provide some tips for keeping costs low and securing your server.
Create and fund your account
To get started with Vultr, you'll need to create an account and choose a payment method to pay for computing resources. Here's how:
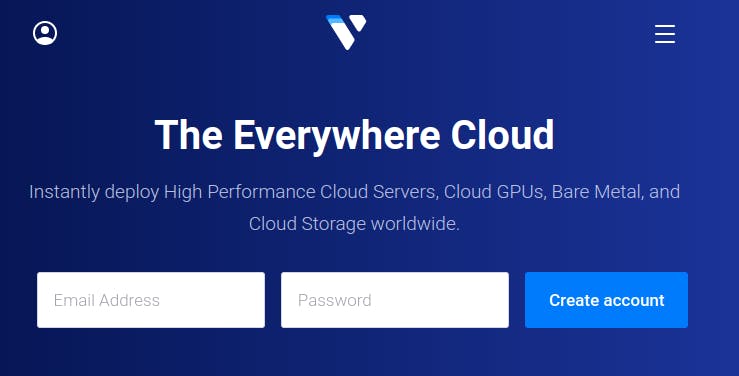
Go to vultr.com and create an account.
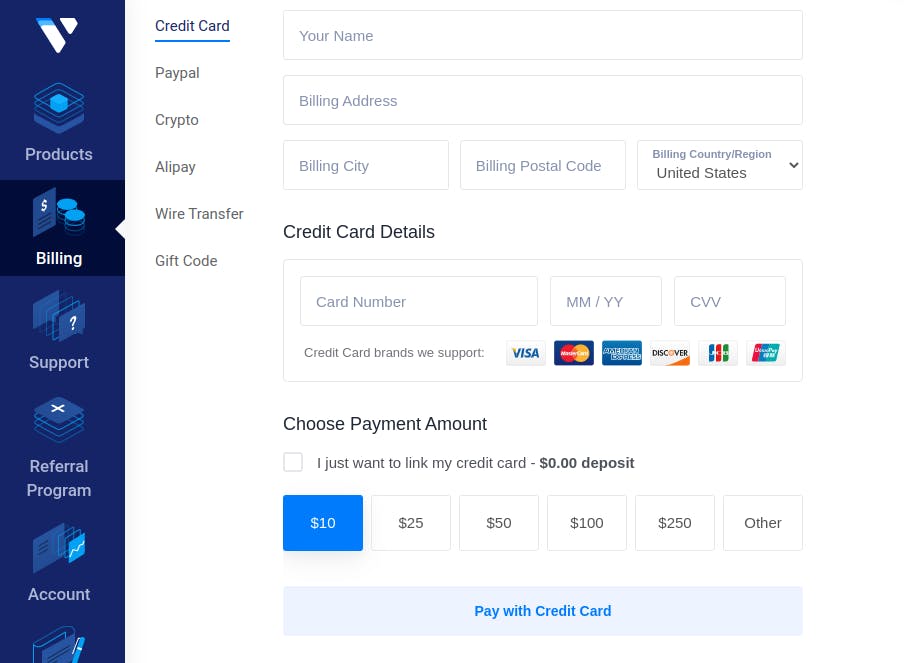
On the left panel, click on "Billing."
Choose a payment method that works for you, such as credit card or PayPal.
Generating an SSH key
Before you can launch your VPS, you'll need to generate a private/public key pair to enable you to log in to your instance using Secure Shell (SSH). Here's how:
Open a terminal on your desktop and type:
mkdir ~/.ssh/mykey/
chmod 700 ~/.ssh/mykey/
ssh-keygen -a 100 -t ed25519 -f ~/.ssh/mykey/id_ed25519 -C "user@example.com"
During key generation, you will be prompted to enter a passphrase. While it is recommended that you encrypt your key by providing a passphrase, you may leave it empty for the purpose of spinning up a test VPS.
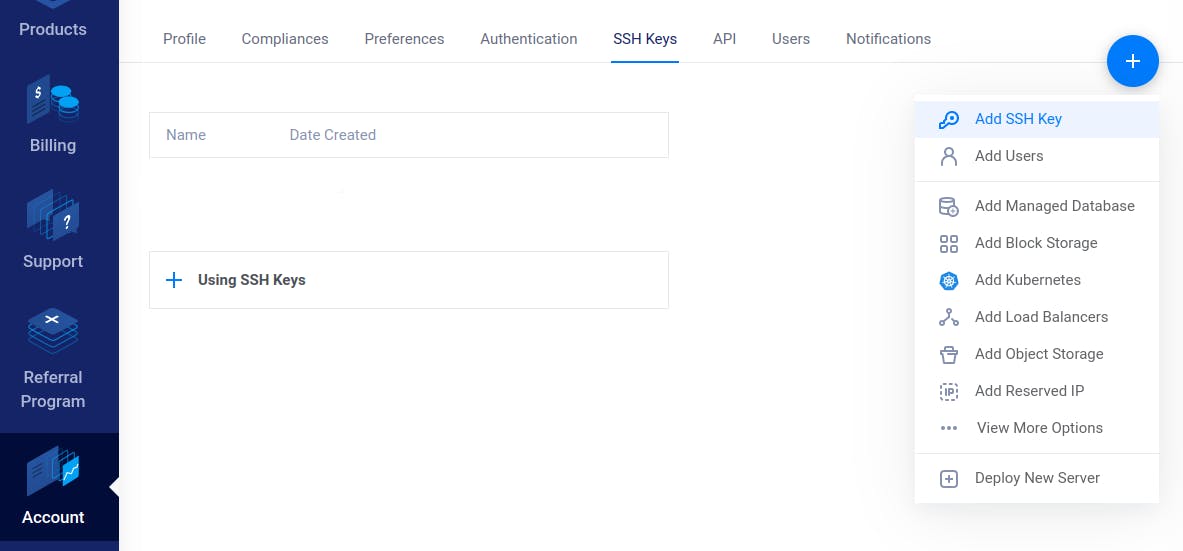
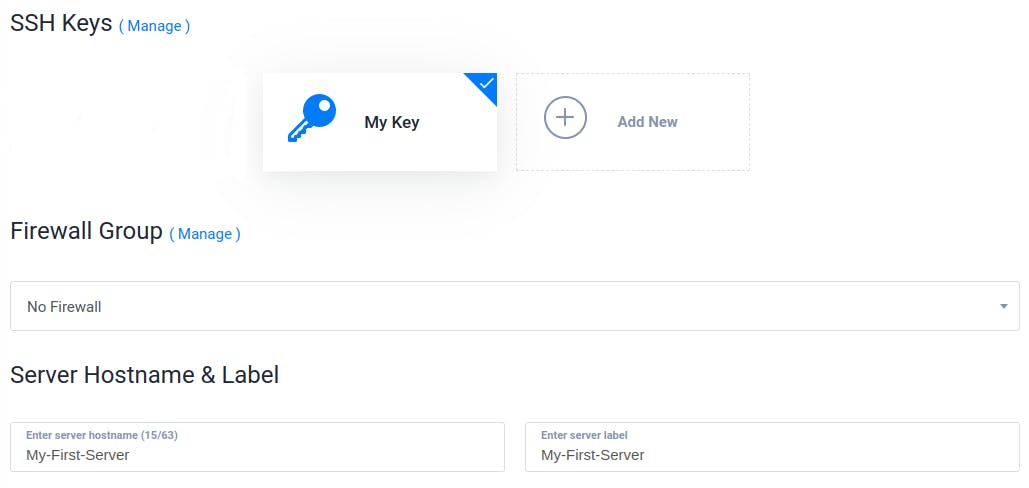
The location ~/.ssh/mykey/ contains now a pair of public and private keys. Go back to the Vultr console, on the left panel click account, click the + blue button (top right) and click "Add SSH key".
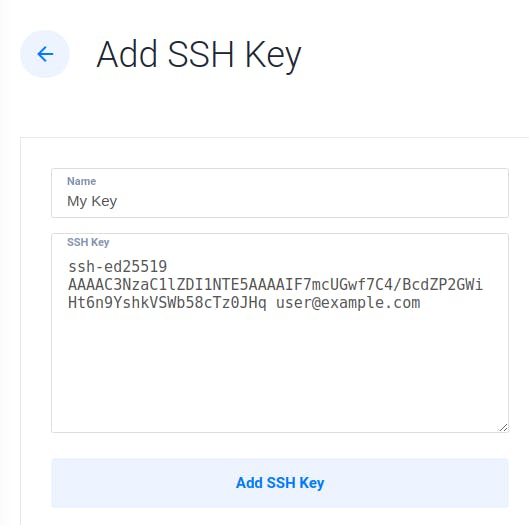
Enter a name for your key, copy and paste the content of your public key (~/.ssh/mykey/id_ed25519.pub) in the second field:
Remember your private key is private to you only, you must not share it with anyone!
Launch your first Vultr instance
Now that you have a Vultr account and an SSH key, you're ready to launch your first VPS.
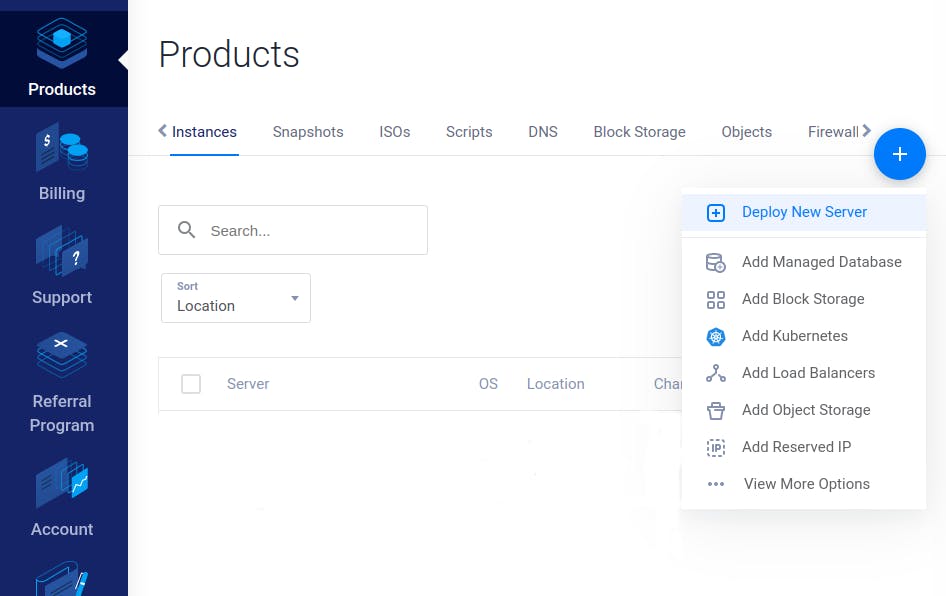
On the left panel press "Products", click the + blue button (top right) and select "Deploy New Server" from the dropdown menu.
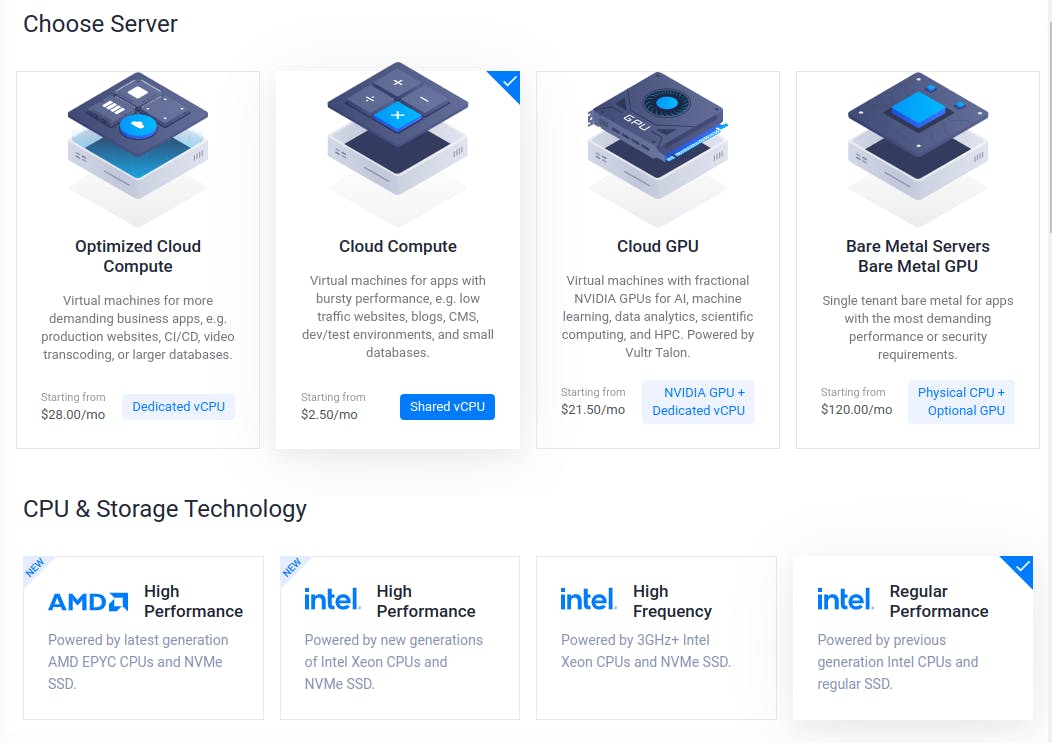
Select Cloud Compute as "Server" and Intel Regular Performance as "CPU & Storage Technology".
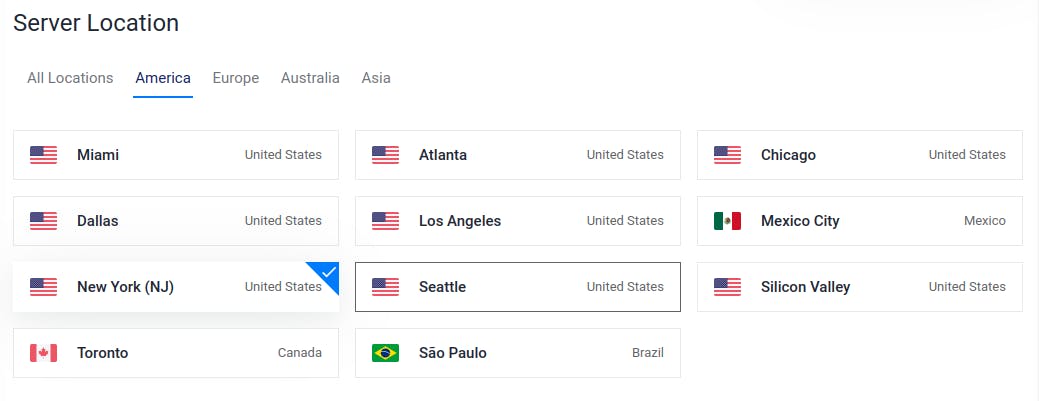
It's a good idea to choose a location for the VPS as close as possible to your place to minimize network latency. However, different locations offer different VPS sizes, for example, as this post went to press, the New York location offers very small server sizes:
1 vCPU - 0.5 GB Memory @ $2.50/month (IPv6 ONLY)
1 vCPU - 0.5 GB Memory @ $3.50/month
Those will make you save some $$ every month! Try to find yourself a Server Location that is optimized for cost and latency.
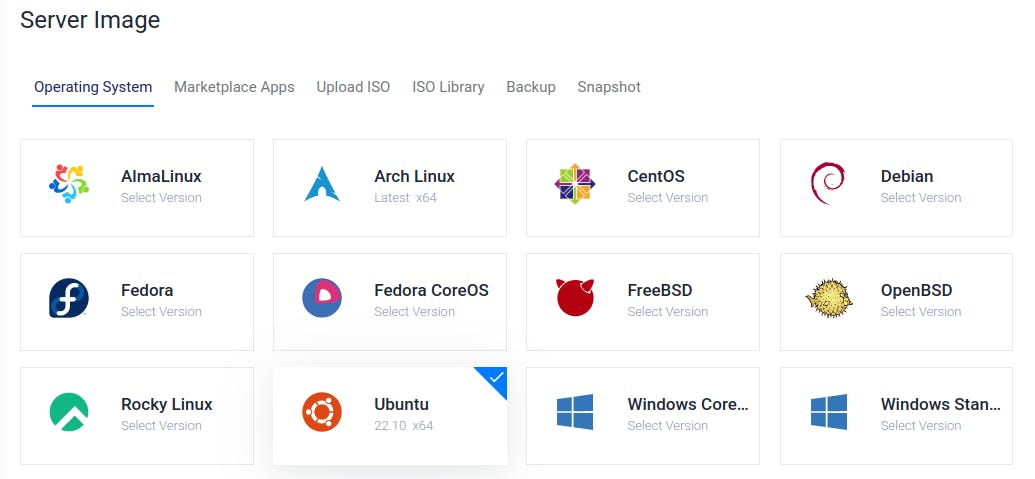
In the server image section, choose your favorite distro, I usually recommend Ubuntu or Red Hat-based one like CentOS.
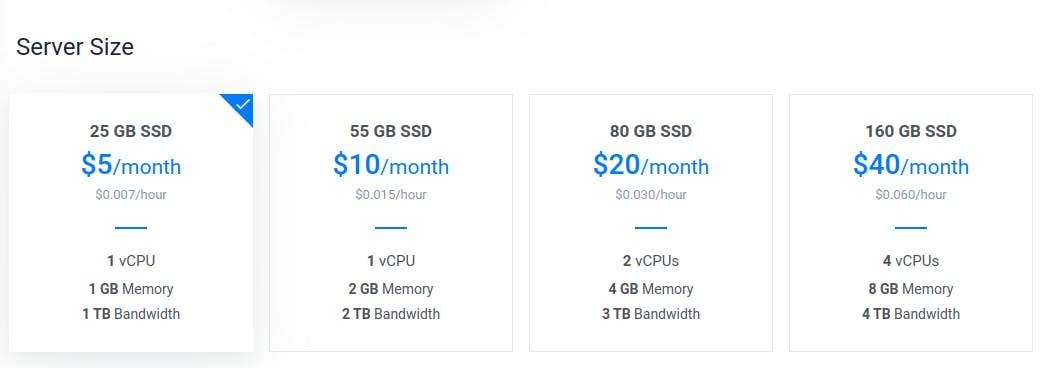
Select the Server Size. In the following image, I've selected a Server location where small instances are not available. Still, $5/month is a good price for a VPS.
Disable also Automatic Backups to keep down the cost:

Select the SSH key we previously entered and type the name of your instance
Finally, click "Deploy Now".
Connect to your VPS
Once your server has been provisioned, you will be able to access the server details by clicking on "Products" on le left menu. Click on the instance and copy the IP address.
Open an SSH connection to the server specifying the private key:
ssh root@<vpsip> -i ~/.ssh/mykey/id_ed25519
If you have entered everything correctly, you should now be connected to your Vultr VPS!
Conclusions
In step by step guide, I showed you how to start a VPS on Vultr and how to keep the cost as low as possible. Please note that all the prices indicated in the Vultr console are before VAT, which means that you will be charged more depending on your country of residence.